Are you planning a winter hike or a snowy mountain trek? If so, carrying microspikes properly on your backpack is a must.
You might think it’s just about stuffing them inside, but there’s a smarter way to carry them that keeps your gear organized and ready to use. In this post, you’ll discover simple, practical tips to attach your microspikes so they don’t get lost, damaged, or slow you down.
Keep reading to learn how to carry your microspikes safely and conveniently every time you hit the trail.
Choosing The Right Microspikes
Choosing the right microspikes is key for safe and easy hiking in icy conditions. The right pair fits your needs and makes carrying them simple. Consider the type, weight, and size before you buy. This helps you find microspikes that work well for your trips and fit easily on your backpack.
Types Of Microspikes
Microspikes come in different styles for various terrains. Some have short spikes for light ice and snow. Others have longer spikes for thick ice or steep slopes. Some models use chains to add grip on rocks. Choose the style that matches your hiking path and weather conditions. This prevents slipping and keeps your feet steady.
Weight And Size Considerations
Microspikes should be light enough to carry without trouble. Heavy gear can slow you down and tire you out. Compact microspikes take less space in your backpack. Look for designs that fold or roll easily. Small and light spikes fit better on the outside or inside of your pack. This saves space for other gear you need on your hike.
Backpack Compatibility
Carrying microspikes on a backpack requires the right compatibility. Not every backpack fits microspikes easily. Choosing the right backpack makes your hike safer and more comfortable. The backpack should hold microspikes securely without damaging them or your gear.
Attachment Points And Straps
Look for backpacks with strong attachment points. These are loops or daisy chains on the outside. They help you clip microspikes safely. Straps should be adjustable and sturdy. Thin or weak straps might break under weight. Wide straps spread the load and keep spikes stable. Some backpacks have special gear loops for tools. These make carrying microspikes easier and more secure.
Ideal Backpack Features
Choose backpacks with external pockets for quick access. This allows you to grab spikes without unpacking. A durable fabric resists wear from metal spikes. Water-resistant material protects your gear in rain or snow. Backpacks with compression straps keep your load tight. This prevents microspikes from swinging or shifting. Padding on the back and shoulder straps adds comfort. A good fit reduces strain on your body during long hikes.
Popular Carrying Methods
Carrying microspikes on your backpack keeps them handy and safe. There are several popular ways to attach them. Choose the method that fits your hike and gear best. Here are simple options to carry microspikes easily and securely.
Using Gear Loops
Most backpacks have gear loops designed for extra tools. Slide the microspikes onto these loops for quick access. This method keeps your spikes outside the pack and easy to grab. Make sure the spikes are tightly secured to avoid swinging or noise.
Securing With Carabiners
Carabiners offer a strong and flexible way to carry microspikes. Clip the spikes to your pack using a carabiner for extra safety. This method lets you move the spikes quickly between different gear spots. Choose a carabiner with a locking gate for extra security.
Storing In External Pockets
Many backpacks have external pockets perfect for microspikes. Place them inside a pocket to protect both your spikes and other gear. This keeps the spikes out of sight and reduces noise while hiking. Use pockets with zippers to prevent accidental drops.

Credit: tourdumontblanchike.com
Diy Carry Solutions
Carrying microspikes on your backpack does not need to be hard. Simple DIY solutions work well and save money. These methods keep your gear easy to reach and safe while hiking. You can make your own holders or use everyday items like cords. Both ideas help you carry microspikes neatly and securely.
Custom Straps And Holders
Create straps from old belts, nylon webbing, or strong fabric. Cut them to fit your microspikes snugly. Use Velcro or snaps to fasten the ends. Attach these straps to your backpack’s shoulder straps or side loops. This method keeps microspikes close and stops them from swinging. It also protects your pack from sharp spikes.
Using Bungee Cords
Bungee cords offer a flexible and quick way to carry microspikes. Wrap the cord around the spikes tightly. Hook the ends onto your backpack’s loops or frame. This holds the spikes firmly in place. Bungee cords stretch, so they adjust to different spike sizes. They are lightweight and easy to remove when not needed.
Tips For Quick Access
Carrying microspikes on your backpack needs smart planning. Quick access saves time and effort during hikes. Keep your microspikes easy to grab without stopping too long. Follow simple tips to make sure they are ready when needed.
Positioning For Easy Reach
Attach your microspikes where you can reach them quickly. The outside of your backpack is best. Use the side pockets or loops near your waist. Avoid putting them at the bottom or inside the pack. This helps you put them on fast during slippery parts.
Avoiding Noise And Movement
Microspikes can rattle and make noise while you walk. Secure them tightly using straps or bungee cords. Use a small bag or pouch to hold the spikes together. This stops them from swinging and keeps noise low. Quiet gear helps you stay alert and enjoy nature.
Maintaining Microspikes On The Trail
Maintaining microspikes on the trail keeps them effective and safe. Dirt, snow, and moisture can cause damage if not cleaned properly. Protecting both your microspikes and backpack extends their life. Carrying microspikes correctly avoids tears or stains on your gear. Follow these simple steps for proper care during your hike.
Cleaning And Drying
Remove dirt and debris from your microspikes after use. Use a soft brush or cloth to clean the spikes gently. Avoid harsh chemicals that can weaken the metal or fabric. Let the microspikes air dry completely before storing them. Do not dry them in direct sunlight or near a heat source. Proper drying prevents rust and mold growth on the spikes.
Preventing Damage To Backpack
Use a protective bag or pouch to carry microspikes on your backpack. Secure the spikes away from the backpack fabric to avoid punctures. Attach them to external loops or gear straps for easy access. Avoid placing microspikes inside the main compartment with other items. Regular checks help spot any wear or damage early. This keeps both your backpack and microspikes in good condition.
Safety Considerations
Carrying microspikes on your backpack requires attention to safety. Proper handling reduces risks of losing gear or causing injury. Follow these safety tips for a secure and comfortable hike.
Secure Attachment To Prevent Loss
Attach microspikes tightly to your backpack to avoid falling off. Use strong straps or carabiners for firm hold. Check attachment points before starting your hike. Secure placement prevents gear from swinging or hitting your body. Loose microspikes can get lost or damaged on rough trails.
Avoiding Injury While Carrying
Cover sharp points of microspikes to protect yourself and others. Use a protective case or wrap them in cloth. Carry them on the outside of your backpack, away from your back and sides. Keep microspikes out of reach of children and pets. Careful placement lowers the chance of cuts and scratches during movement.

Credit: sectionhiker.com
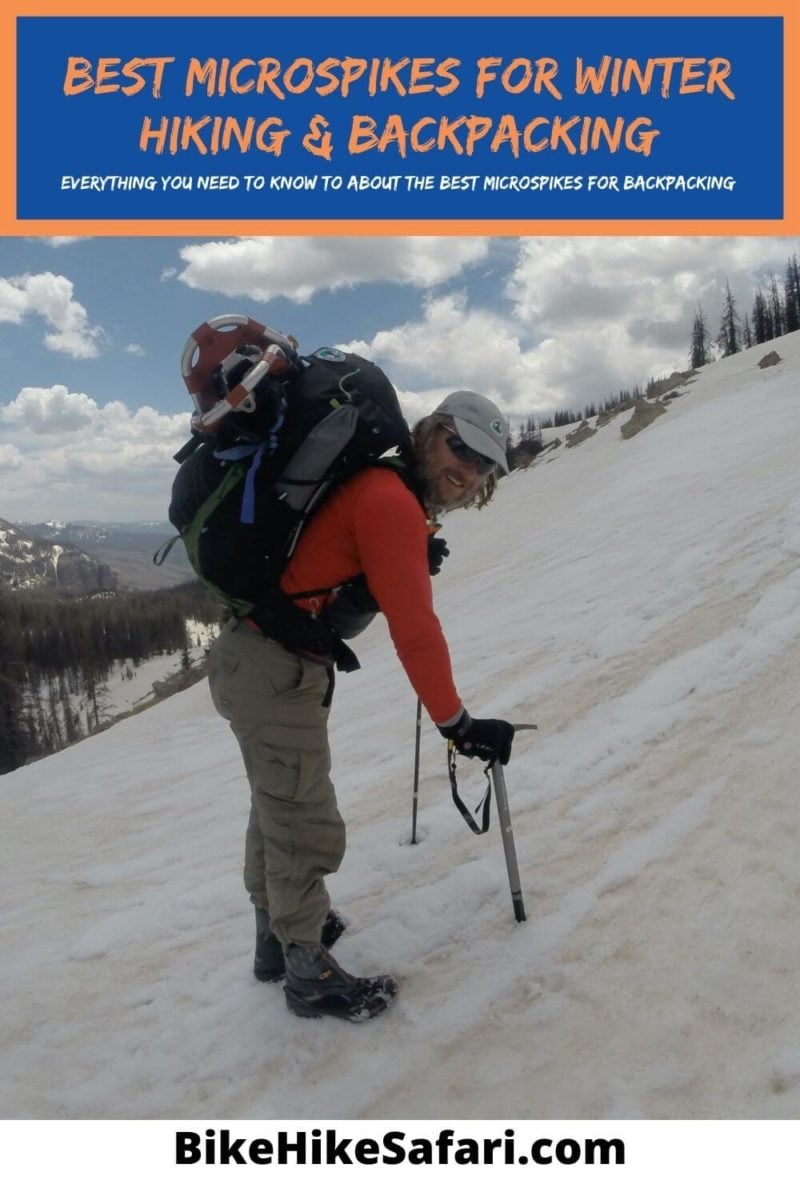
Credit: bikehikesafari.com
Frequently Asked Questions
How Do I Attach Microspikes To My Backpack?
Attach microspikes by securing them to external loops or daisy chains. Use carabiners or straps for stability. This keeps spikes accessible and prevents damage to the pack.
Where Is The Best Place To Store Microspikes On A Backpack?
Store microspikes on the outside, near the bottom or side pockets. This allows quick access and prevents dirt inside the pack. Use mesh pockets or gear loops for secure carrying.
Can I Carry Microspikes Inside My Backpack Safely?
Yes, but place microspikes in a protective bag to avoid damaging gear. Keep them separate from clothing and electronics to maintain cleanliness and safety.
Why Should Microspikes Be Easily Accessible On A Hike?
Easily accessible microspikes save time and effort when terrain changes. Quick access ensures safety on icy or snowy paths by allowing fast attachment.
Conclusion
Carrying microspikes on your backpack keeps them safe and ready to use. Attach them where you can reach quickly without trouble. Use straps or pockets designed for gear to keep spikes steady. This way, you won’t lose them or slow down your hike.
Always check your setup before starting your trip. A small effort makes your adventure easier and safer. Keep your microspikes close, and enjoy every step on icy trails. Simple and smart packing helps you focus on the outdoors.