Want to make your backpack more versatile and ready for any adventure? Adding MOLLE (Modular Lightweight Load-carrying Equipment) to your backpack is a smart way to customize it exactly how you need.
Whether you want extra pockets, attach gear, or organize tools, MOLLE lets you do all that easily. In this guide, you’ll learn simple steps to add MOLLE to your backpack, so you can carry what matters most without hassle. Keep reading to discover how to upgrade your backpack and boost your outdoor or everyday experience.
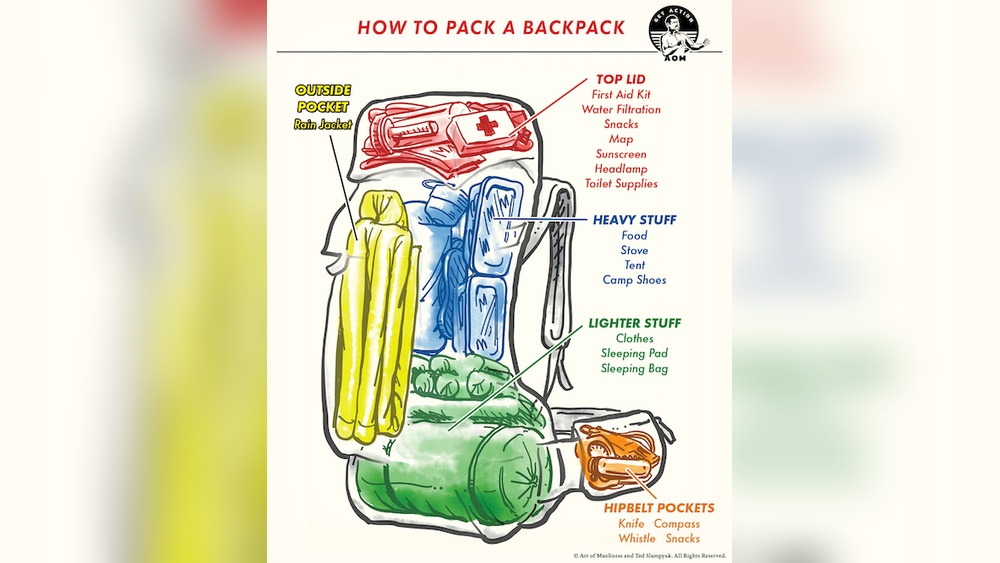
Choosing The Right Backpack
Choosing the right backpack is key to adding MOLLE effectively. A good backpack supports your needs and holds extra gear securely. The right choice makes your setup stronger and more comfortable. Consider what you carry and how often you use MOLLE accessories. This helps you pick a backpack that fits well and lasts long.
Backpack Materials And Durability
Strong materials like nylon or polyester work best for MOLLE backpacks. They resist tears and wear from heavy use. Check the fabric’s denier rating; higher means tougher material. Reinforced stitching adds extra strength at stress points. Durable zippers and buckles also improve backpack life. A sturdy backpack protects your gear and MOLLE attachments.
Built-in Molle Compatibility
Some backpacks come with MOLLE webbing sewn in. These are easiest to use for adding pouches and tools. Make sure the MOLLE straps are spaced evenly and tightly sewn. The webbing should cover enough area to fit your gear. If your backpack lacks MOLLE, consider adding panels or strips. Proper MOLLE compatibility saves time and keeps attachments secure.
Size And Capacity Considerations
Choose a backpack size that fits your daily needs and MOLLE gear. A small pack might not hold many extra pouches. Large backpacks offer more space but can be bulky. Think about your body size and how much weight you carry. Balance capacity with comfort to avoid strain during use. The right size helps keep your load manageable and organized.
Gathering Necessary Tools And Materials
Before adding MOLLE to your backpack, gather all needed tools and materials. This step ensures a smooth and successful project. Having everything ready saves time and avoids frustration. Prepare carefully to get the best results.
Molle Webbing Strips
MOLLE webbing strips are the key material for this project. Choose strong, durable nylon strips. The width should match your backpack’s existing straps. Cut the strips to the desired length. These strips create the attachment points on your backpack.
Sewing Supplies Or Attachment Clips
You need sewing supplies to attach the MOLLE strips securely. Use heavy-duty needles and strong thread. Polyester or nylon thread works best. Alternatively, use attachment clips for a no-sew option. Clips are quicker but less permanent than sewing.
Measuring Tape And Markers
Measuring tape helps you place MOLLE strips evenly on your backpack. Measure twice to avoid mistakes. Use fabric markers to mark stitch points or clip placement. Markers should be visible but easy to remove after work.
Planning The Molle Layout
Planning the MOLLE layout is key to creating a practical and organized backpack. It helps you decide where to place attachments for easy access and balanced weight. A good plan avoids clutter and keeps your gear ready for use. Consider your daily needs and the types of gear you carry. This way, you create a system that works best for you.
Determining Attachment Points
Start by checking the existing MOLLE webbing on your backpack. Count the rows and columns available for attachments. Mark spots where you want to add new MOLLE panels or pouches. Focus on areas with enough space and support. Think about the weight of the items you will attach. Stronger areas near the back or straps are better for heavy gear.
Spacing And Alignment Tips
Keep attachments evenly spaced for a clean look and easy use. Align pouches so they line up with the MOLLE straps. Avoid overlapping too much to prevent bulkiness. Leave some space between attachments to allow flexibility. Proper spacing helps your backpack stay balanced and comfortable to carry.
Considerations For Gear Access
Place frequently used items in easy-to-reach spots. Attach less-used gear lower down or on the sides. Think about which hand you use most to access your gear. Avoid blocking zippers or other important features. Planning access points saves time and keeps you ready on the move.
Attaching Molle To The Backpack
Attaching MOLLE to a backpack allows you to increase storage and carry extra gear. The process involves fixing webbing strips securely to the backpack’s surface. This lets you clip or sew pouches and accessories easily. Choose the method that fits your tools and skills best.
Sewing The Webbing By Hand
Sewing MOLLE webbing by hand is a strong and lasting option. Use a heavy needle and durable thread like nylon or polyester. Stitch through both the backpack fabric and the webbing tightly. Make parallel stitches along the length of the webbing. Keep your stitches close to prevent movement or fraying. This method takes time but ensures a reliable attachment.
Using Clips Or Velcro Alternatives
Clips or Velcro strips work well for quick MOLLE attachment. Snap clips between webbing loops and backpack fabric. Velcro offers easy removal and repositioning of gear. Choose high-quality Velcro to avoid loosening. This method suits those who want flexibility without sewing. It might not be as secure as sewing but is convenient.
Securing And Reinforcing Attachments
Reinforce MOLLE attachments by adding extra stitching or adhesive tape. Check all seams for weak spots. Tighten loose stitches to prevent gear loss. Use fabric glue or seam sealer on edges to stop fraying. Reinforcement extends the life of your MOLLE setup. Regularly inspect and maintain your attachments for safety.
Customizing Your Gear Setup
Customizing your gear setup lets you tailor your backpack to fit your needs. It makes carrying equipment easier and more efficient. Using MOLLE webbing, you can attach pouches and accessories directly to your backpack. This setup improves organization and keeps important items close at hand. A personalized gear setup can enhance your outdoor or daily adventures.
Adding Pouches And Accessories
Choose pouches that suit your gear size and type. Attach them securely to the MOLLE straps on your backpack. Slide the straps through the webbing and fasten them tightly. This method keeps your pouches stable during movement. You can add water bottle holders, first aid kits, or tool pouches. Adjust placement to match your comfort and needs.
Organizing For Quick Access
Place frequently used items in easy-to-reach pouches. Keep smaller gear in front or side attachments. This setup saves time and reduces frustration. Label or color-code pouches for faster identification. Avoid overloading one area to prevent clutter. A well-organized backpack helps you stay ready for any situation.
Balancing Weight Distribution
Distribute weight evenly on both sides of the backpack. Place heavier items close to your back for better support. Use MOLLE pouches to spread weight across multiple points. This balance reduces strain and improves comfort. Check your setup before each trip to maintain good posture. Balanced gear makes carrying easier and safer.
Maintaining And Upgrading Your Setup
Maintaining and upgrading your MOLLE setup keeps your backpack ready for any adventure. A well-kept system lasts longer and works better. Small checks and upgrades make a big difference in performance and durability.
Regular Inspection For Wear
Check your MOLLE strips often for signs of wear. Look for frayed edges, loose stitching, or broken webbing. Catching problems early prevents gear loss or damage. Inspect after each trip or heavy use.
Replacing Or Adding Molle Strips
Replace worn or damaged MOLLE strips quickly. Use strong thread and proper sewing techniques. Adding new strips expands your carrying options. Choose strips that match your backpack’s material and color.
Tips For Long-term Durability
Keep your backpack clean and dry to protect MOLLE parts. Avoid overloading the system beyond its limits. Store your backpack in a cool, dry place. Use gentle cleaning methods to avoid weakening the material.
Frequently Asked Questions
What Is Molle And Why Add It To A Backpack?
MOLLE stands for Modular Lightweight Load-carrying Equipment. Adding MOLLE increases your backpack’s customization and carrying capacity. It allows you to attach pouches and gear securely for better organization and accessibility during outdoor activities.
How Do I Install Molle Webbing On My Backpack?
To install MOLLE, sew or use strong adhesive to attach nylon straps in a grid pattern. Ensure straps are evenly spaced and tightly secured. This creates loops to attach compatible pouches and accessories effectively.
Can I Add Molle To Any Backpack Type?
Yes, you can add MOLLE to most backpacks. However, backpacks made of durable fabric like nylon are best. Avoid fragile materials that might tear when attaching MOLLE webbing.
What Tools Are Needed To Add Molle To A Backpack?
You need a needle, heavy-duty thread, scissors, and optionally fabric glue. A sewing machine helps for precise stitching. These tools ensure the MOLLE webbing is firmly attached and durable.
Conclusion
Adding MOLLE to a backpack makes it more useful and organized. You can attach extra gear for trips or daily use. The process is simple and does not take much time. Just follow the steps carefully for the best fit.
This small change improves your backpack’s function greatly. Try it yourself and see the difference. A well-equipped backpack helps you stay ready and comfortable outdoors. Keep practicing to get better at adding MOLLE gear. Your adventures will feel easier and more fun.