Want to give your backpack a unique look that stands out from the crowd? Iron-on patches are an easy and fun way to add personality and style to your gear.
But if you’ve never tried it before, you might wonder how to do it right without ruining your backpack. This guide will show you exactly how to iron on patches step-by-step, so you can customize your backpack with confidence and make it truly yours.
Keep reading to discover simple tips that make the process quick and hassle-free!
Materials Needed
Before you start ironing patches on your backpack, gather all necessary materials. Having the right tools makes the process easier and more successful. Each item plays a key role in securing the patch firmly.
Let’s explore the materials needed for this simple craft.
Choosing The Right Patch
Pick patches made for ironing. These patches have a special glue backing. They stick well when heated. Avoid patches without an adhesive side. Choose a size that fits your backpack space. Bright colors or unique designs add style.
Selecting An Iron
Use a household iron with adjustable heat. Check it can reach the required temperature. Avoid steam settings, as moisture can weaken the glue. A dry iron works best to bond the patch. Make sure the iron’s soleplate is clean.
Additional Supplies
Have a thin cloth or parchment paper ready. This protects your patch and backpack from heat damage. Keep a flat, heat-resistant surface to work on. A pair of tweezers helps position the patch. Use a timer to track ironing time.
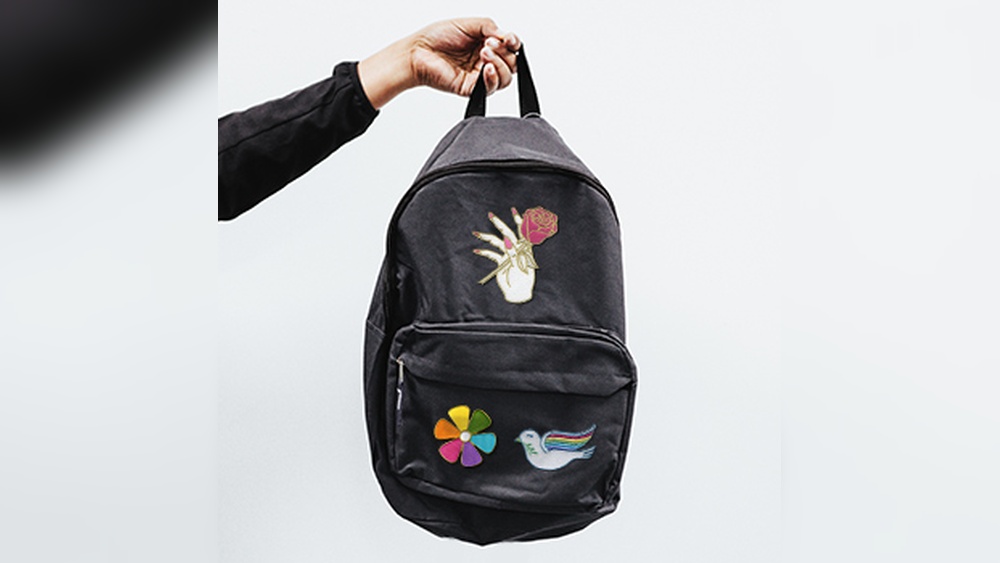
Credit: hitherandthither.net
Preparing The Backpack
Preparing the backpack is the first step for a strong patch bond. The surface must be ready to hold heat and glue well. Proper preparation helps the patch stick longer and look better.
Cleaning The Surface
Clean the backpack area where the patch will go. Use a damp cloth to remove dust and dirt. Let it dry completely before starting. A clean surface helps the patch stick firmly. Avoid using harsh chemicals that can damage the fabric.
Positioning The Patch
Place the patch on the backpack without ironing first. Move it around to find the perfect spot. Check if the patch fits the space well. Use pins or tape to hold the patch in place. This keeps it from shifting during ironing.
Ironing Techniques
Ironing patches onto a backpack requires the right technique. Using proper heat and pressure helps the patch stick well. Careful steps prevent damage to the fabric and patch. Follow these tips for a smooth, strong bond.
Setting The Iron Temperature
Check the patch and backpack fabric labels. Set the iron to the recommended heat setting. Usually, medium heat works for most patches. Avoid using steam, as moisture can weaken the glue. Let the iron fully heat before starting.
Applying Heat And Pressure
Place the patch on the desired spot. Cover it with a thin cloth or parchment paper. Press the iron firmly on top, but do not move it around. Hold steady to ensure even heat distribution. This helps the glue melt and stick properly.
Timing The Process
Apply heat for about 30 to 45 seconds per patch. If the patch is large, increase the time slightly. Avoid over-pressing, which can burn the fabric. Let the patch cool completely before handling. This sets the glue and strengthens the bond.

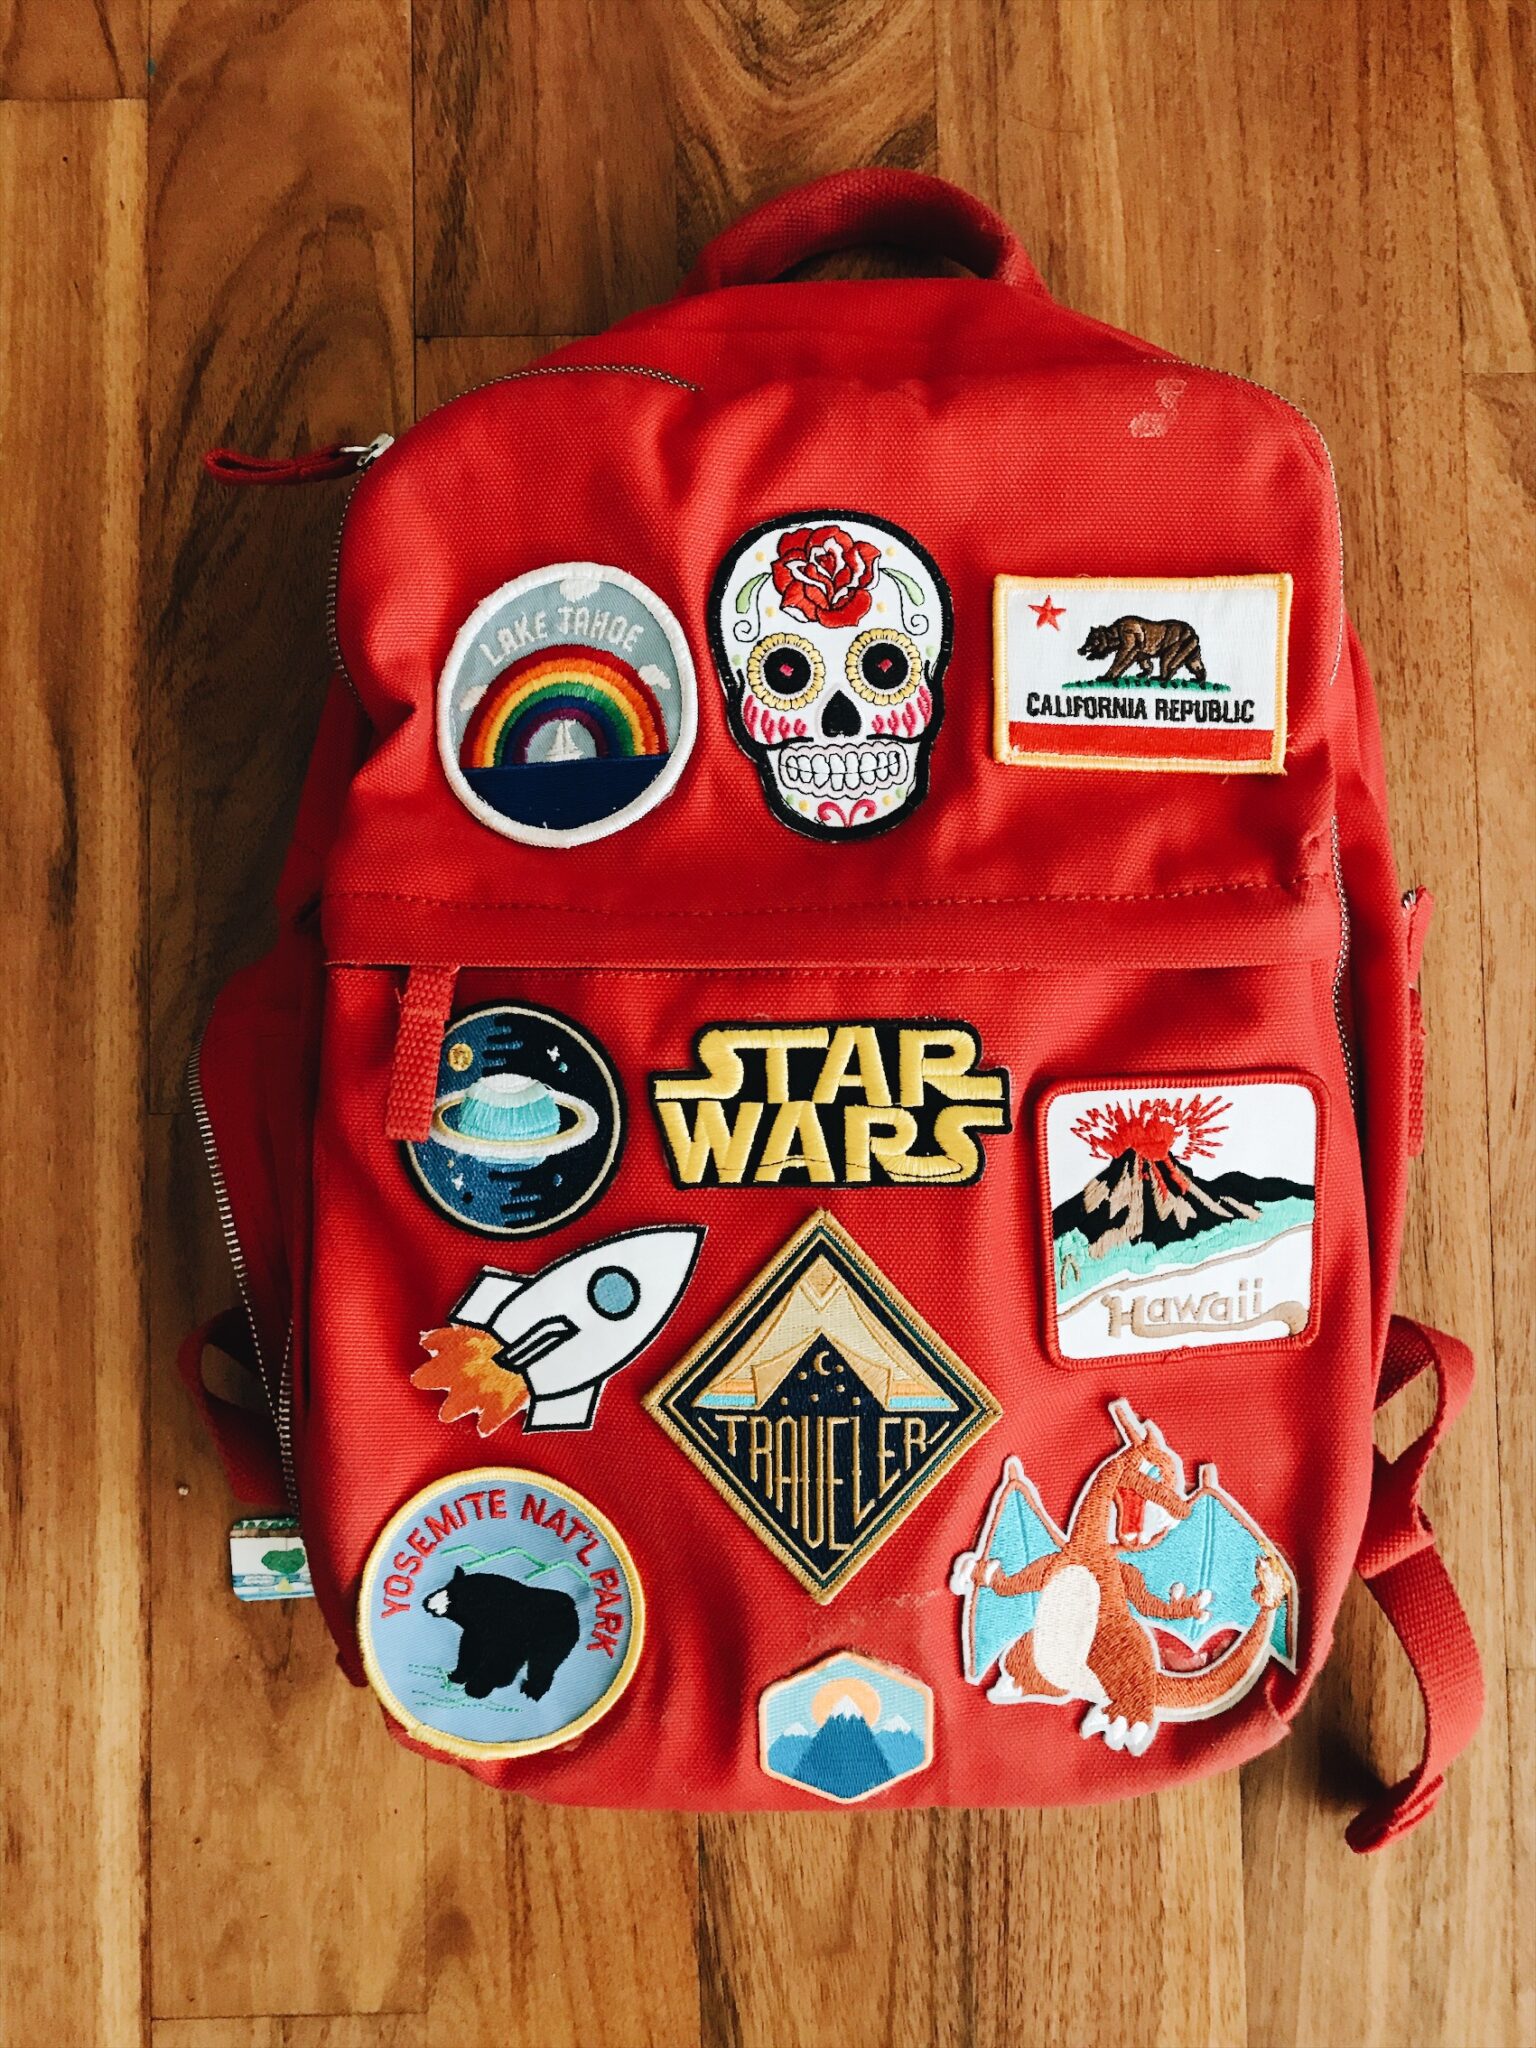
Credit: theflainstravel.com
Securing The Patch
Securing the patch on your backpack is a key step. It keeps the patch in place during use and washing. A well-attached patch looks neat and lasts longer. Proper securing prevents edges from lifting or peeling off. Take time to check and reinforce the patch after ironing.
Checking Adhesion
After ironing, let the patch cool completely. Gently press around the edges with your fingers. If any part lifts, the patch did not stick well. Try ironing that area again with firm pressure. Use a cloth over the patch to protect it. Make sure the heat is set correctly for your patch type.
Check the patch after a few hours or the next day. This helps confirm if the glue is fully set. Avoid touching or moving the patch until it feels secure.
Reinforcing With Sewing
Sewing adds extra strength to the patch hold. Use a needle and thread matching the patch color. Stitch around the edges with small, tight stitches. This prevents the patch from peeling off over time.
Hand sewing is easy and works well for most patches. Use a simple running stitch or whip stitch. If you use a sewing machine, be careful not to damage the backpack fabric. Sewing is especially useful for backpacks that see rough use.
Care And Maintenance
Caring for your backpack with iron-on patches keeps it looking great. Proper care helps patches stay firmly attached. It also prevents damage and fading.
Maintaining your backpack is simple with the right steps. Follow these tips to extend the life of your patches and backpack.
Washing Tips
Wash your backpack by hand for best results. Use cold water and mild detergent only. Avoid bleach and harsh chemicals that weaken glue. Gently scrub dirty areas with a soft brush. Do not soak for long periods. Air dry your backpack away from direct sunlight. Avoid putting it in a washing machine or dryer. These can loosen patches or cause peeling.
Handling Wear And Tear
Check patches regularly for loose edges or damage. If you spot lifting, press with a warm iron again. Use a cloth between the iron and patch. Avoid high heat to prevent melting. Fix small tears quickly to stop them from growing. Store your backpack in a dry place to prevent mold. Handle your backpack gently to avoid rough wear. This care keeps your patches looking fresh and strong.

Credit: www.youtube.com
Frequently Asked Questions
How Do I Prepare A Backpack For Ironing Patches?
Clean the backpack surface and smooth out wrinkles. Avoid metal parts and use a cloth between the patch and iron. This prevents damage and ensures even heat distribution for better adhesion.
What Temperature Setting Is Best For Ironing Patches?
Use a medium to high heat setting without steam. Check the patch instructions for exact temperature. Too high heat can damage the fabric or patch adhesive.
Can All Backpacks Be Ironed With Patches?
No, iron-on patches work best on cotton or polyester backpacks. Avoid nylon, leather, or waterproof materials as they may melt or not hold patches well.
How Long Should I Iron A Patch On A Backpack?
Apply firm pressure for 30 to 60 seconds. Hold the iron steady and avoid moving it around. Repeat if necessary for stronger adhesion.
Conclusion
Ironing patches on a backpack is simple and fun. Prepare your backpack and patch carefully before starting. Use the right heat setting on your iron for best results. Press the patch firmly and hold for enough time. Let it cool down to secure the patch well.
This method helps you add style and personality to your backpack. Enjoy your customized look every day. Practice makes perfect, so don’t worry if it takes a few tries. Keep your backpack neat and patch strong with proper care.