
Want to give your backpack a fresh, unique look without spending a fortune? Iron-on patches are an easy and fun way to do just that.
Whether you want to cover up a stain, show off your favorite band, or add a pop of color, you can transform your backpack in minutes. In this guide, you’ll learn exactly how to apply iron-on patches so they stick well and last long.
Keep reading, and you’ll be surprised how simple it is to personalize your backpack like a pro!
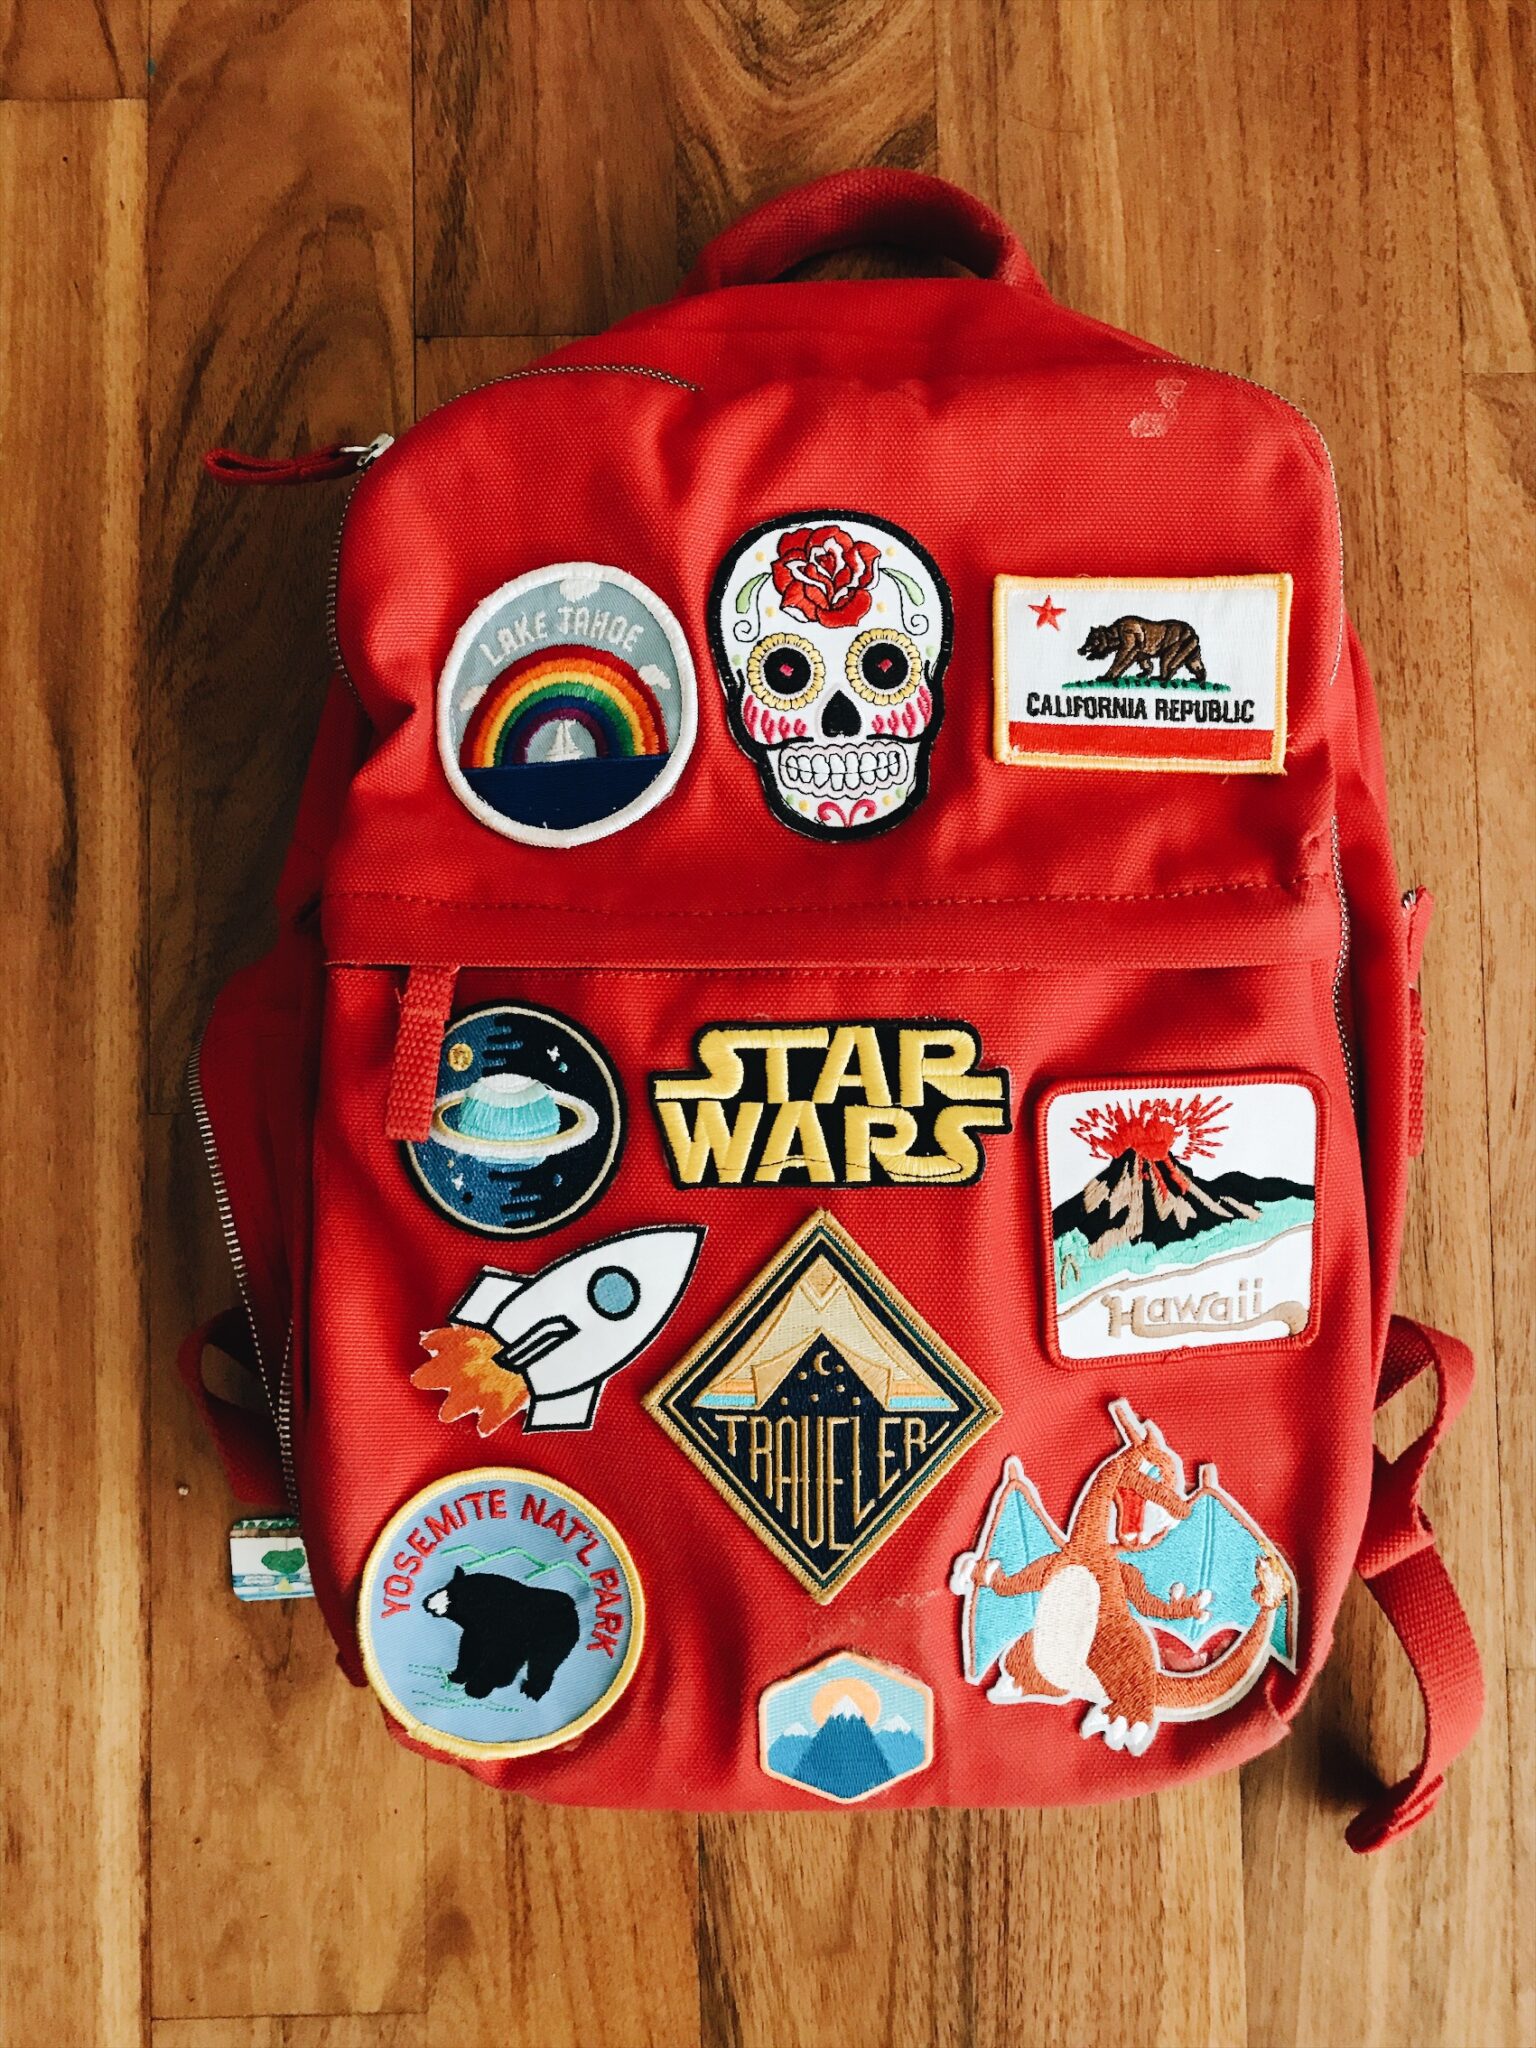
Credit: hitherandthither.net
Choosing The Right Patch
Choosing the right patch is key to making your backpack look great and last long. Not all patches fit every backpack type. Picking the right patch ensures it sticks well and matches your style. This guide helps you pick the best patch for your backpack.
Types Of Iron-on Patches
Iron-on patches come in many types. Some have a smooth, shiny backing that melts with heat. Others use a rougher adhesive for stronger hold. Embroidered patches show detailed stitching. Printed patches display colorful images. Pick a patch type that fits your style and backpack use.
Materials Suitable For Backpacks
Backpacks have different materials like nylon, polyester, or canvas. Canvas holds patches well with heat. Nylon and polyester need patches with strong adhesives. Check your backpack’s material before choosing a patch. Some fabrics can melt or get damaged by heat. Use a cloth between the patch and iron for protection.
Size And Design Considerations
Size matters for patches on backpacks. Small patches fit on straps or pockets. Large patches work well on main backpack areas. Choose a design that matches your personality. Simple designs stand out better on busy backpacks. Make sure the patch size fits the space available. Balance size and style for the best look.

Credit: www.arloren.com
Preparing Your Backpack
Preparing your backpack properly is essential before applying iron-on patches. This step ensures the patch sticks well and lasts long. A clean, flat surface helps the heat transfer process work perfectly. Take time to get your backpack ready. It makes a big difference in the final look and durability.
Cleaning The Surface
Start by wiping the area where the patch will go. Use a damp cloth to remove dust, dirt, and oils. Let the fabric dry completely before moving on. Dirt or grease can stop the patch from sticking properly. Clean fabric gives the best result.
Selecting The Placement
Choose a spot that fits the patch size and design. Think about how the backpack will look with the patch. Avoid areas with seams or zippers that can block the patch. Pick a place that is flat and easy to reach with an iron.
Flattening The Fabric
Make sure the fabric is smooth and flat. Wrinkles or folds prevent good heat contact. Lay the backpack on a hard surface. Press down to remove bumps or creases. A smooth surface helps the patch stick evenly and last longer.
Gathering Required Tools
Before starting to iron on patches to your backpack, gather all necessary tools. This step makes the process smooth and avoids interruptions. Having the right equipment ensures the patch sticks well and looks good.
Organizing your tools also saves time. Keep everything close and ready. This way, you can focus on attaching the patch neatly without stress.
Essential Equipment
- Iron: A basic household iron works best for heat application.
- Ironing board or flat surface: Provides a steady place to press the patch.
- Patch: Choose the design you want to apply.
- Backpack: Make sure the fabric is suitable for ironing.
- Thin cloth or parchment paper: Protects the patch and fabric from direct heat.
Optional Accessories
- Pressing cloth: Offers extra protection during ironing.
- Seam ripper: Helps remove old patches or threads if needed.
- Fabric glue: Adds extra hold to patches for heavy use.
- Heat-resistant tape: Keeps the patch in place before ironing.
- Lint roller: Cleans the backpack surface for better adhesion.

Credit: www.youtube.com
Applying The Patch
Applying an iron-on patch to a backpack can refresh its look quickly. It also personalizes your bag with style and character. This process needs care to make sure the patch sticks well and lasts long. Follow these simple steps for the best results.
Setting The Iron Temperature
First, check the patch instructions for the right heat setting. Usually, a medium heat works well for most patches. Avoid using steam; turn it off to keep the patch dry. Let the iron warm up fully before pressing it on the patch.
Positioning The Patch Correctly
Place the patch on the desired spot on your backpack. Make sure the area is flat and clean. Use pins or tape to hold the patch in place. Double-check the position before you start ironing to avoid mistakes.
Pressing Techniques
Cover the patch with a thin cloth or parchment paper. Press the iron firmly on top, holding it steady. Do not move the iron around; hold it still for about 30 seconds. Let the patch cool down before touching it. Repeat pressing if needed for better adhesion.
Securing The Patch
Securing the patch on your backpack is a key step. It ensures the patch stays in place and looks neat. Taking time to secure it well helps the patch last longer. Follow simple steps to make sure the patch sticks firmly and looks great.
Checking Adhesion
After ironing the patch, gently press around the edges. Check if the patch feels stuck to the fabric. Try lifting a corner lightly. If it lifts, more heat or pressure is needed. The patch should feel firmly attached without any loose parts.
Reinforcing Edges
Some patches need extra security on the edges. Use a needle and thread to sew around the patch edges. This helps prevent peeling after washing or heavy use. Use small stitches close to the edge for a clean look. Sewing takes just a few minutes and adds strong hold.
Allowing Cooling Time
Do not move the patch right after ironing. Let it cool for at least 10 minutes. Cooling helps the glue set and harden. Touch the patch only after it feels cool and firm. This step stops the patch from shifting or lifting.
Caring For Your Patched Backpack
Caring for your patched backpack helps it last longer and look great. Iron-on patches add style and personality. Taking good care keeps patches stuck and fabric strong. Follow simple steps to protect your backpack every day.
Washing Tips
Wash your backpack gently to protect patches. Use cold water and mild detergent. Avoid bleach or harsh chemicals that weaken glue. Hand wash or use a delicate cycle in the machine. Let the backpack air dry flat. Avoid heat from dryers that can loosen patches.
Avoiding Damage
Keep sharp objects away from patches to stop tears. Don’t overload the backpack to avoid stress on patches. Store the backpack in a cool, dry place. Avoid direct sunlight for long periods to prevent fading. Check patches often for any signs of peeling or damage.
Repairing Loose Patches
Loose patches need quick repair to stay in place. Use a hot iron on low heat with a cloth between patch and iron. Press firmly for 15-20 seconds. Use fabric glue if ironing doesn’t work. Re-sew edges with a needle and thread for extra strength.
Frequently Asked Questions
How Do You Prepare A Backpack For Iron-on Patches?
Clean the backpack surface and dry it completely. Remove dust or debris. Ensure the fabric is heat-resistant to avoid damage during ironing.
What Temperature Should I Set For Ironing Patches?
Set your iron to medium heat or the cotton setting. Avoid steam to ensure the patch adheres properly without bubbling or peeling.
Can Iron-on Patches Be Removed From Backpacks?
Yes, heat and peeling can remove patches. Use a hairdryer or iron with a cloth to soften adhesive, then carefully peel off the patch.
How Long Should I Press The Patch On The Backpack?
Press the iron firmly on the patch for 30 to 45 seconds. Apply even pressure to ensure the patch sticks well.
Conclusion
Iron on patches add style and personality to any backpack. The process is simple and quick. Just follow the steps carefully for best results. Make sure the patch sticks well and lasts long. Personalizing your bag becomes fun and easy this way.
Try different patches to match your mood or style. Keep your backpack unique and eye-catching every day. This small change can make a big difference. Enjoy customizing your backpack with iron on patches today!