Are you ready to create a black backpack that perfectly fits your style and needs? Designing your own backpack might sound tricky, but with the right steps, you can make a unique, functional bag that stands out.
Imagine carrying a backpack that you built yourself—something personal, practical, and just the way you want it. In this guide, you’ll discover simple tips and clear instructions to design your black backpack from scratch. Keep reading, and by the end, you’ll have the confidence to turn your idea into a real, stylish backpack you’ll love.
Materials Needed
Creating a black backpack at home is a fun and rewarding project. Gathering the right materials is the first step. It helps to prepare everything before starting the sewing process. This section lists all the items needed to design your own backpack.
Choosing The Fabric
Select a strong, durable fabric for your backpack. Canvas and nylon are popular choices. Both handle wear and tear well. Pick black fabric for a classic look. Consider water-resistant material for extra protection. A thick fabric will give your backpack structure.
Essential Tools
You need a sewing machine to stitch the pieces together. Use sharp fabric scissors for clean cuts. A measuring tape helps get accurate sizes. Pins hold fabric pieces in place while sewing. A seam ripper fixes any mistakes quickly. Tailor’s chalk marks the fabric without damage.
Additional Supplies
Choose sturdy zippers to secure your backpack pockets. Purchase adjustable straps for comfort and fit. Use strong thread that matches the fabric color. Consider adding buckles or clips for extra support. Foam or batting adds padding for comfort. A lining fabric can make the inside neat.
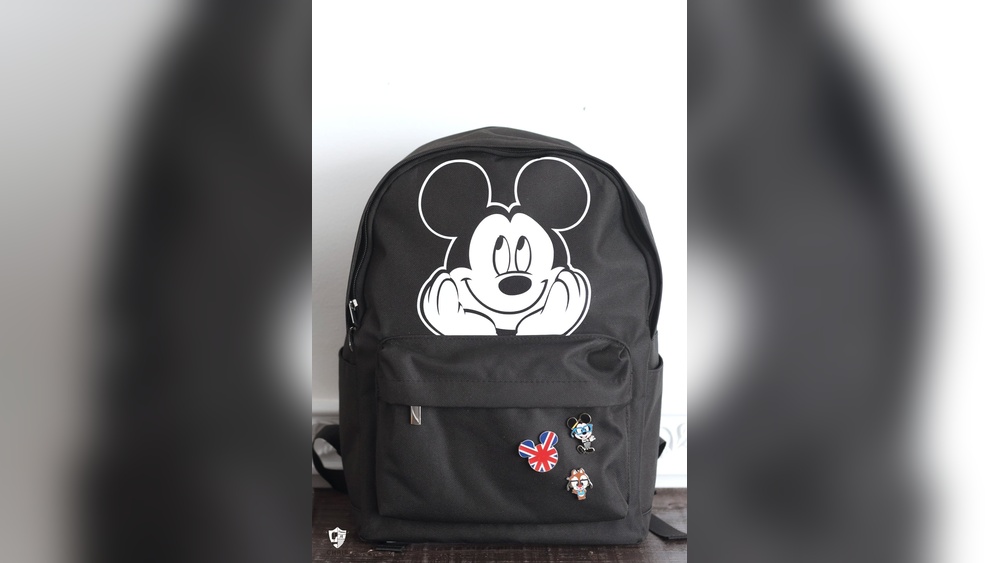
Credit: www.reddit.com
Preparing The Pattern
Preparing the pattern is the first step in designing your black backpack DIY. This stage sets the foundation for the entire project. A well-prepared pattern ensures the backpack fits well and looks great. It helps avoid mistakes later in the process. Take your time here. Focus on details. The clearer your pattern, the easier the sewing will be.
Start by choosing the style of backpack you want. Then, create a pattern that matches your design. Finally, cut the fabric carefully based on your pattern. These steps help bring your vision to life.
Selecting The Backpack Style
Decide the shape and size of your backpack first. Choose between a simple or more detailed design. Think about how many pockets and compartments you want. Consider straps and closures too. Keep your needs and style in mind. Your style choice guides the pattern making.
Drafting The Pattern
Use paper or cardboard to draft your pattern. Draw each part of the backpack separately. Include the front, back, sides, and straps. Mark where pockets or zippers will go. Add seam allowances to each piece. This space is needed for sewing. Label every piece clearly. Check measurements twice for accuracy.
Cutting The Fabric
Lay your fabric flat on a clean surface. Pin the pattern pieces to the fabric firmly. Cut carefully along the edges of the pattern. Use sharp scissors for clean cuts. Cut all pieces needed before starting to sew. Keep fabric pieces organized and labeled. This saves time and confusion later.
Sewing The Backpack
Sewing the backpack is the key step in your DIY project. This part turns your design into a real bag. It needs focus and care to get strong seams and neat edges. Follow each step carefully to build a durable and stylish backpack.
Assembling Main Sections
Start by joining the front, back, and side panels. Use pins or clips to hold pieces in place. Sew along the edges with a straight stitch. Leave the top open for now. Check seams for strength and fix any loose threads. This frame forms the main body of your backpack.
Adding Pockets And Compartments
Next, attach pockets to the front or sides. Sew smaller compartments inside for better organization. Make sure pockets are evenly placed and stitched firmly. Reinforce edges to prevent tearing. These sections add function and style to your backpack.
Attaching Straps And Handles
Finally, sew on straps and handles. Use thick fabric or webbing for strength. Attach straps at reinforced points on the bag. Double stitch for extra durability. Ensure straps are adjustable for comfort. Handles should be secure and easy to grip.
Finishing Touches
The finishing touches bring your black backpack to life. This stage makes sure your bag is strong and ready to use. Paying close attention here gives a neat, professional look. Small details can make a big difference.
Installing Zippers And Closures
Choose zippers that match the backpack style and color. Sew them carefully along the edges for smooth opening. Test the zipper multiple times to avoid jams. Add closures like buckles or snaps for extra security. These parts keep your items safe and easy to access.
Reinforcing Seams
Strong seams hold everything together firmly. Sew over the main seams twice for added strength. Use heavy thread to prevent breaking. Focus on stress points like straps and corners. Reinforced seams make your backpack last longer.
Final Inspection And Adjustments
Check every part of the backpack closely. Look for loose threads or missed stitches. Fix any small issues before use. Adjust straps to fit comfortably on your back. This final step ensures your backpack looks great and works well.
Care And Maintenance
Taking care of your black backpack keeps it looking fresh and lasting longer. Proper care helps avoid stains, tears, and fading. Regular maintenance saves time and money on repairs or replacements. Follow easy steps to keep your DIY backpack in top shape.
Cleaning Tips
Use a soft brush to remove dust and dirt. Spot clean with mild soap and water. Avoid harsh chemicals that can damage fabric color. Let the backpack air dry completely after cleaning. Do not use a dryer or direct sunlight to dry. Wipe zippers and hardware with a damp cloth.
Storage Suggestions
Store your backpack in a cool, dry place. Avoid damp areas to prevent mold and mildew. Keep it away from direct sunlight to stop fading. Fill the backpack with tissue paper to keep its shape. Hang it on a hook or lay it flat to avoid creases.
Repairing Minor Damages
Fix small tears with a needle and matching thread. Use fabric glue for loose patches or decorations. Replace broken zippers or buckles with spare parts. Reinforce weak seams before they become bigger. Regular checks help catch damage early for quick repairs.

Credit: kdfoundation.org

Credit: popsewing.com
Frequently Asked Questions
What Materials Are Needed To Design A Black Backpack Diy?
You need black fabric, zipper, thread, scissors, measuring tape, and sewing machine. Optional items include padding and straps for comfort.
How Do I Choose The Right Fabric For A Diy Backpack?
Select durable, water-resistant fabric like nylon or canvas. Black color hides stains and looks stylish.
What Is The Best Sewing Technique For Backpack Durability?
Use reinforced stitching, such as double stitching or box stitch, at stress points. This increases backpack strength and longevity.
How Can I Add Extra Compartments To My Black Backpack?
Sew additional pockets inside or outside using the same fabric. Use zippers or Velcro for secure closures.
Conclusion
Designing a black backpack DIY lets you create something unique. You control every detail, from shape to style. It saves money and brings joy in crafting. Use simple materials and follow clear steps. Enjoy personalizing your backpack with pockets and straps.
This project suits beginners and skilled crafters alike. Try it today and carry your own creation with pride.