Have you ever wanted a backpack that’s simple, stylish, and made just the way you like? Imagine carrying your essentials in a bag you created with your own hands.
Sewing a drawstring backpack is easier than you think, even if you’re new to sewing. In this guide, you’ll discover step-by-step how to make your own drawstring backpack quickly and confidently. By the end, you’ll have a unique, handy bag that’s perfect for school, gym, or everyday use.
Ready to turn fabric into your new favorite accessory? Let’s get started!
Materials Needed
Before starting your drawstring backpack project, gather all the materials. Having everything ready makes sewing easier and faster. Knowing what fabric and tools to use helps you create a sturdy and stylish bag. This section covers essential materials for your project.
Fabric Choices
Choose a fabric that is strong and easy to sew. Cotton canvas is popular for backpacks. It is durable and holds shape well. Lightweight fabrics like nylon work for a sporty look. Avoid stretchy fabrics; they can make sewing tricky. Pick a fabric that suits your style and purpose.
Required Tools
You need some basic sewing tools. A sewing machine speeds up the process. Sharp scissors or rotary cutters make clean cuts. Pins or clips hold fabric pieces together. A measuring tape helps with accuracy. Use chalk or fabric markers for marking lines. Have a seam ripper ready for mistakes.
Drawstring Options
Drawstrings are key to the backpack’s closure. Cotton cords are soft and easy to tie. Nylon ropes offer extra strength and durability. You can use flat shoelaces for a casual look. Choose a length that fits comfortably over shoulders. Make sure the drawstring fits through your fabric casing.
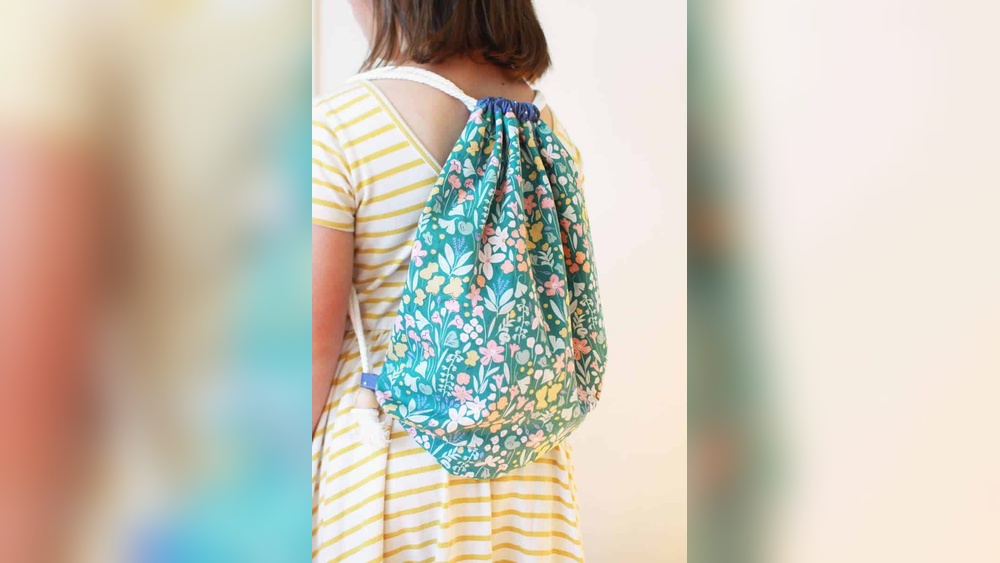
Credit: www.chicaandjo.com
Cutting The Fabric
Cutting the fabric is the first step in making your drawstring backpack. This part sets the base for the whole project. It is important to cut the fabric carefully. The right size and shape will make sewing easier and the backpack stronger.
Take your time here. Measure and cut with care. This will save you from mistakes later.
Measuring Dimensions
Start by measuring the size of your backpack. A common size is 16 inches tall and 14 inches wide. Use a ruler or measuring tape for accuracy. Mark these dimensions on your fabric. Remember to add an extra inch for sewing seams on all sides. This extra space helps hold the backpack together well.
Marking And Cutting Tips
Use a fabric marker or chalk to mark your fabric. Draw straight lines based on your measurements. Check your marks twice before cutting. Use sharp scissors or a rotary cutter for clean edges. Cut slowly to avoid mistakes. Keep your fabric flat and smooth while cutting. This ensures even pieces that fit perfectly during sewing.
Sewing The Main Body
Sewing the main body of your drawstring backpack is a key step. It shapes the bag and holds everything together. Careful stitching here ensures your backpack is strong and lasts long.
Follow these simple steps to sew the main body with ease. Focus on precise alignment and steady stitching for best results.
Aligning Fabric Pieces
Start by placing the two fabric pieces right sides together. Make sure the edges match perfectly. Pin the layers to keep them from moving. Check the corners to keep them sharp and neat.
This careful setup helps create a clean, professional look. Take your time to align everything well.
Stitching The Sides
Set your sewing machine to a straight stitch. Sew along the pinned edges, leaving the top open. Keep the stitches even and close to the edge. Remove pins as you sew to avoid damage.
Backstitch at the beginning and end to secure the seams. This step makes the backpack strong and ready for use.
Creating The Drawstring Channel
Creating the drawstring channel is an important step in sewing a drawstring backpack. This channel holds the drawstrings that close the bag. It must be neat and strong to work well. Follow simple steps to fold, pin, and stitch the fabric correctly.
Folding And Pinning
Start by folding the top edge of the fabric down. Fold about one inch to create the channel space. Make sure the fold is even all around. Use pins to hold the fold in place. Pinning helps keep the fabric from shifting during sewing. Place pins every few inches for best results.
Top Stitching
Next, sew along the folded edge to form the channel. Use a straight stitch close to the inner fold. Sew slowly to keep your line straight. Remove pins as you sew to avoid damage. The top stitching must be tight to hold the drawstring. Check that the channel is wide enough for your cord to slide through easily.
Adding The Drawstrings
Adding the drawstrings is a key step in making your drawstring backpack functional and easy to carry. These strings not only close the bag but also act as shoulder straps. Properly threading and securing the drawstrings ensures the backpack is strong and comfortable to wear.
Threading Techniques
Start by cutting two equal lengths of cord. The length depends on how long you want the straps to be. Use a safety pin or a bodkin to guide the cord through the top casing of the backpack. Attach the safety pin to one end of the cord. Push the pin slowly through the casing until it comes out the other side.
Repeat this step for the second cord on the opposite side. Make sure the cords do not twist inside the casing. Keep the ends even, so the bag closes properly. Smooth threading saves time and prevents frustration.
Securing The Ends
After threading, tie knots at the ends of each cord to stop them from slipping back. Use a double knot for extra hold. Trim any excess cord close to the knot. Check that the knots are tight and secure. Loose ends can cause the drawstrings to slip and the backpack to open unintentionally.
For added security, sew a few stitches over the knots. This helps keep them in place longer. Properly secured ends improve the backpack’s durability and usability.
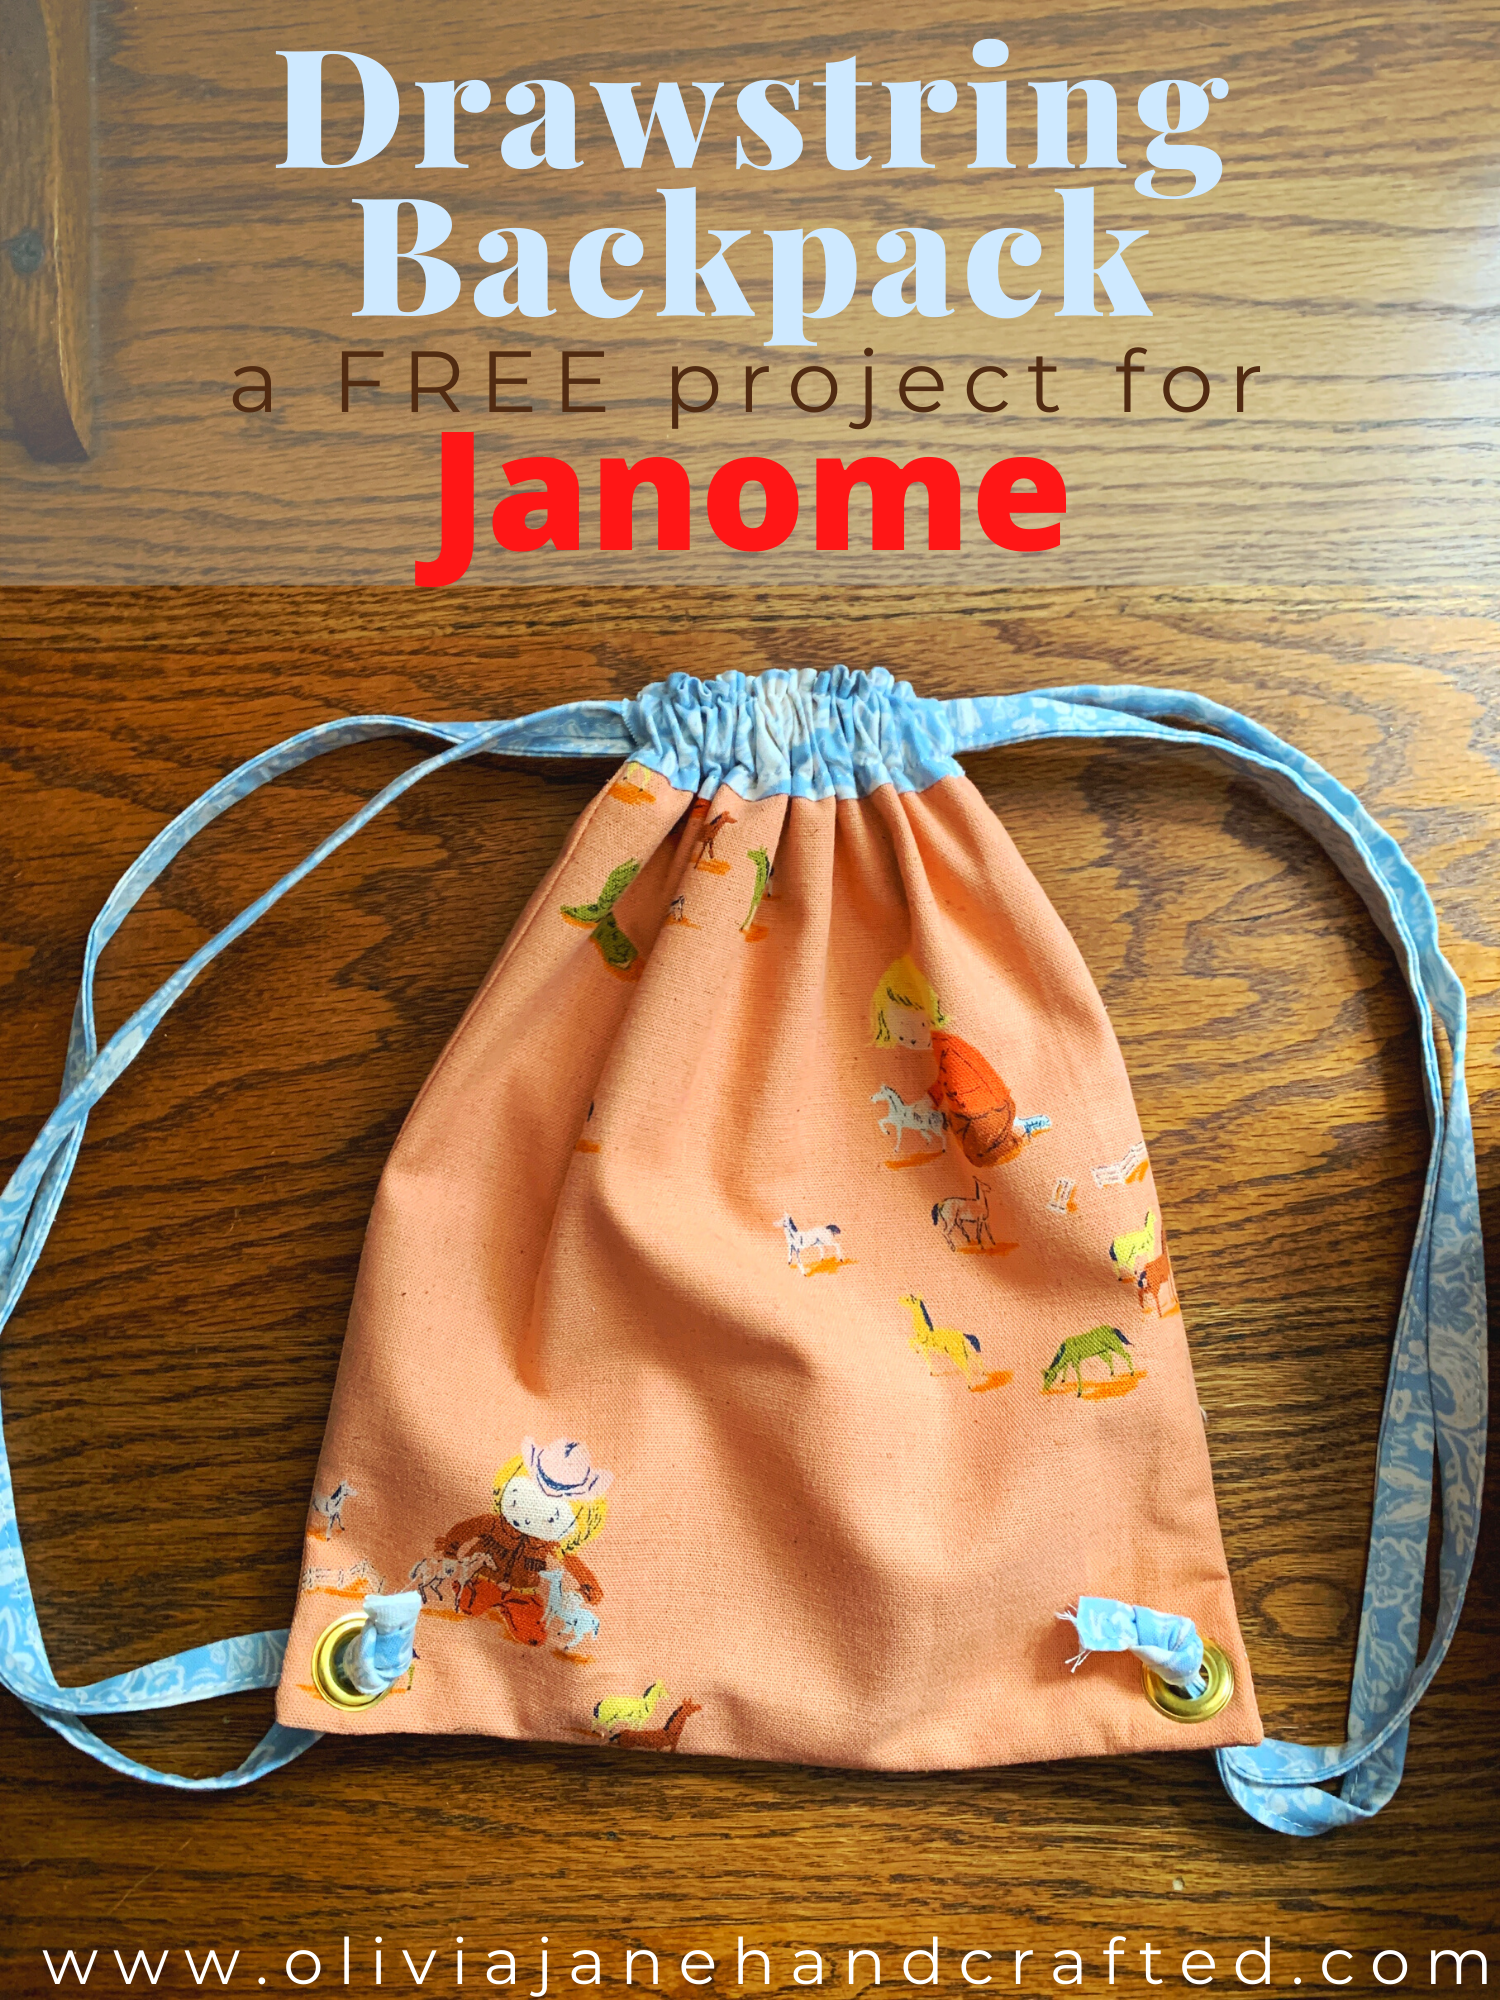
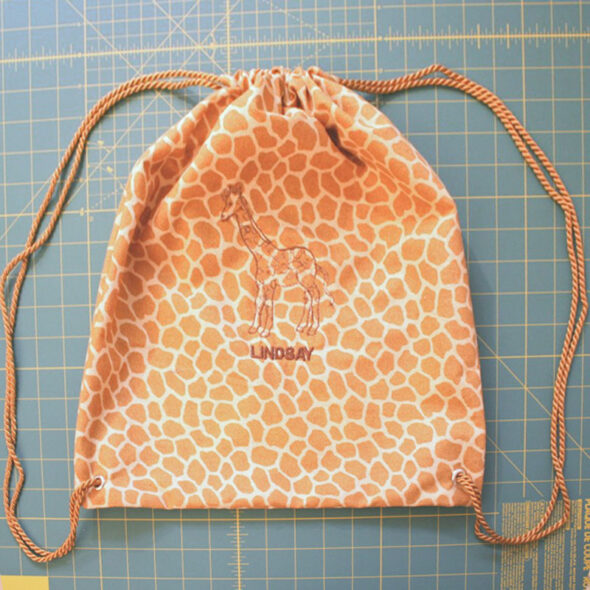
Credit: oliviajanehandcrafted.com
Finishing Touches
Finishing touches make your drawstring backpack strong and stylish. They improve its look and help it last longer. These last steps are important to complete your project well.
Reinforcing Stress Points
Stress points are where the backpack gets the most pull. These include the corners where the strings attach and the bottom corners. Use extra stitching here for strength. Sew a few extra rows of stitches. Consider using a backstitch for more durability. This prevents the fabric from tearing with use.
Adding a small piece of fabric or interfacing behind these points helps too. It spreads out the force and protects the fabric. Reinforcing these areas keeps your backpack safe for heavy loads.
Optional Pockets And Decorations
Adding pockets makes your backpack more useful. Sew a simple pocket inside or outside for keys, phone, or small items. Use matching fabric or a contrasting one to add style. Attach it with straight, even stitches for neatness.
Decorations add personality and fun. Try fabric paint, patches, or embroidery. Keep decorations simple so they do not weaken the fabric. Place them where they won’t wear out quickly.
These touches make your backpack unique and practical. They show your creativity and care in sewing.
Care And Maintenance
Taking care of your drawstring backpack keeps it looking fresh and lasting longer. Proper care helps protect the fabric and the strings from wear and tear. Regular cleaning and smart storage are key to maintaining your backpack’s shape and color.
Washing Tips
Hand wash your backpack with mild soap and cold water. Avoid bleach or strong detergents that can damage the fabric. Rinse well to remove all soap. Let it air dry flat, away from direct sunlight. Machine washing can weaken the strings and fabric. Spot clean stains quickly to prevent permanent marks.
Storage Suggestions
Store your backpack in a cool, dry place to prevent mold and odors. Keep it empty and loosely closed to maintain its shape. Avoid folding it tightly, which can cause creases and weaken the fabric. Use a hanger or shelf to keep it neat. Regular airing helps keep it fresh and ready to use.
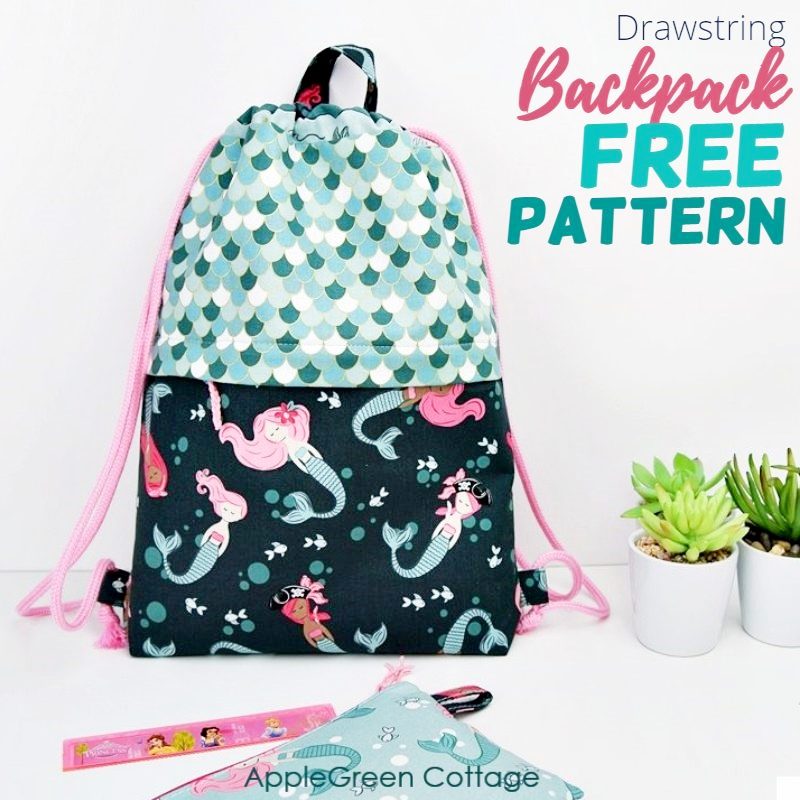
Credit: www.applegreencottage.com
Frequently Asked Questions
What Materials Are Needed To Sew A Drawstring Backpack?
You need fabric, drawstring cords, scissors, pins, and a sewing machine. Choose durable fabric like cotton or canvas for strength.
How Long Does It Take To Sew A Drawstring Backpack?
It typically takes 1 to 2 hours for beginners. Experienced sewers may finish faster with practice.
Can I Customize The Size Of The Backpack?
Yes, you can easily adjust the fabric dimensions. Simply measure and cut to your preferred size.
What Type Of Fabric Works Best For Drawstring Backpacks?
Cotton, canvas, and denim are excellent choices. They are durable, lightweight, and easy to sew.
Conclusion
Sewing a drawstring backpack is simple and fun. You only need basic materials and a little patience. This project helps you create a useful bag for school or trips. You can choose any fabric you like. Try adding your own style with colors or patterns.
Practice makes your sewing better each time. Soon, you will enjoy making bags for friends or gifts. Keep your tools ready and start sewing today. A handmade backpack is both practical and special. Enjoy your new skill and happy sewing!