Do you wish your backpack could keep your cables organized and easy to access? Adding a cable port to your backpack can change the way you carry your tech gear every day.
Imagine having a neat, dedicated spot to plug in your headphones or charge your devices without digging through your bag. In this guide, you’ll learn simple steps to create a cable port that fits your backpack perfectly. Keep reading, and soon you’ll enjoy hassle-free, tangle-free convenience wherever you go.
Materials Needed
Adding a cable port to a backpack makes it easier to charge devices on the go. The right materials help ensure a neat and durable installation. Gather everything before starting the project. This saves time and avoids frustration.
Tools Required
Basic tools are needed to install the cable port. You will need a sharp knife or scissors to cut the fabric carefully. A soldering iron helps connect wires if you want a built-in charging system. Use a screwdriver to secure any screws. A ruler or measuring tape ensures precise placement of the port. Finally, a pencil or fabric marker helps mark the spot for cutting.
Choosing The Right Cable Port
Select a cable port designed for backpacks or bags. Look for one with a rubber or plastic cover to protect the port from dust and water. Check the size of the port to match your cable type. Some ports are made for USB cables, while others fit audio or charging cables. Pick a port that suits your main use and fits well on your backpack.
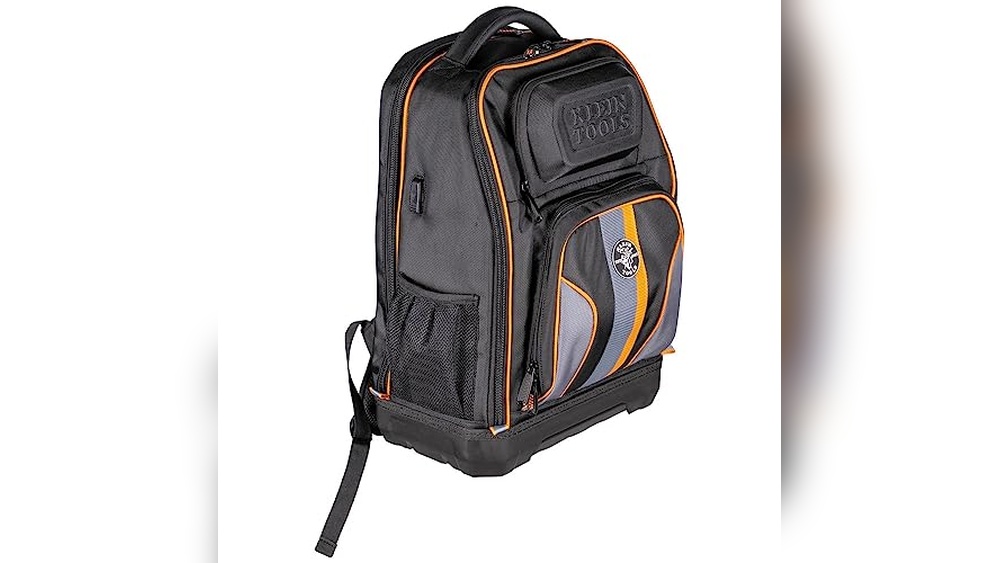
Selecting Compatible Backpack
Choose a backpack with a thick fabric or padding for easy installation. Thin or delicate fabric may tear when cutting a hole. Backpacks with a dedicated charging pocket or space behind the fabric work best. Avoid backpacks with strong waterproof coatings that might be hard to cut. A backpack with a simple design helps keep the cable port discreet and functional.
Preparing The Backpack
Preparing your backpack is the first step before adding a cable port. This ensures the port fits well and works properly. Careful preparation makes the installation easier and neater.
Start by understanding where the cable port will be most useful. This helps avoid damage and keeps your backpack strong.
Identifying Port Placement
Choose a spot near the top or side of the backpack. This allows easy access to your cables. Avoid thick seams or padded areas that are hard to cut.
Check inside the backpack to see if there is enough space behind the chosen spot. Make sure no important lining or pockets get damaged.
Marking The Cut Area
Use a fabric marker or chalk to draw the shape of the port opening. A small circle or oval works best for most cable ports.
Measure twice before marking. The cut should be just big enough for the cable to pass through snugly.
Mark the area clearly on both the inside and outside of the backpack. This helps you cut precisely without mistakes.
Cutting The Backpack
Cutting the backpack is the key step to add a cable port. This task needs care and precision to avoid damage. A clean cut makes the port look professional and work well. Take time and prepare your tools before starting. A poorly made cut can ruin your backpack or cause fraying. Follow simple steps to get a perfect opening for your cable port.
Safety Tips
Use sharp scissors or a craft knife for better control. Cut on a flat, hard surface to avoid slips. Keep fingers clear of the blade path to prevent injuries. Wear protective gloves if needed for extra safety. Work slowly and do not rush through the cutting process. Keep children and pets away from the cutting area.
Making A Clean Cut
Mark the spot clearly where the cable port will go. Use a ruler or stencil to draw a neat outline. Start cutting from the center and move outward for better accuracy. Avoid jagged edges by cutting smoothly in one motion. Trim any loose threads after the cut to prevent fraying. Test the hole size with your cable before finishing the edges.
Installing The Cable Port
Installing the cable port is the key step to make your backpack tech-friendly. It allows easy access to charge devices or connect headphones without opening the bag. Follow clear steps to insert and secure the port properly.
Inserting The Port
Start by choosing the right spot on the backpack. Usually, a side or top corner works best. Use a sharp tool to cut a small hole that fits the port size. Carefully push the cable port through the hole. Make sure it sits flush against the fabric. Avoid forcing it, as this may damage the port or backpack.
Securing The Port In Place
Check if the port has a locking ring or flange. Slide this part on the inside of the backpack to hold the port firmly. Tighten it by hand or use pliers for a snug fit. If the port lacks a locking feature, use strong fabric glue or sew a small patch around the hole. This step prevents the port from moving or falling out. Test the port by gently pulling it to ensure it stays secure.
Testing The Setup
Testing the setup is a key step after adding a cable port to your backpack. It confirms that everything works well and stays strong. This step helps avoid problems later and makes sure your backpack is ready to use.
Checking Cable Fit
Start by inserting the cable through the new port. The cable should fit snugly without force. It must slide easily and stay in place. Check if the port size matches your cable thickness. Too tight or too loose can cause damage or disconnects.
Ensuring Durability
Next, test the port’s strength by gently pulling the cable. The port should hold firm and not tear. Move the cable around to mimic real use. Watch for any signs of wear or loosening. Reinforce with extra stitches or glue if needed. Durable setup means less repair and longer use.
Additional Tips
Adding a cable port to your backpack makes it easier to charge devices on the go. Some extra tips can help you improve the port’s function and protect your gear. These ideas keep your setup safe and fit your needs well.
Waterproofing The Port
Protecting the cable port from water is important. Use silicone sealant around the edges to stop water from entering. A rubber gasket can also create a tight seal. Cover the port with a small flap or cap when not in use. This keeps moisture away and extends the port’s life.
Customizing For Different Cables
Not all cables are the same size or shape. Measure your cable before making the hole. You can cut the opening to fit USB, Lightning, or charging cables. Use a flexible grommet to hold cables firmly in place. This prevents damage and keeps the port neat.
Frequently Asked Questions
How Do I Install A Cable Port On My Backpack?
To install a cable port, choose a spot, cut a small hole, and insert the port. Secure it with glue or stitching. This allows easy access for charging or headphone cables while keeping your backpack organized.
What Tools Are Needed For Adding A Cable Port?
You will need a sharp utility knife or scissors, a cable port kit, and strong adhesive or needle and thread. These tools help create a neat, durable port that fits your backpack perfectly.
Can I Add A Cable Port To Any Backpack Material?
Yes, you can add a cable port to most fabrics like nylon, polyester, or canvas. Avoid very thick or rigid materials as they may be harder to cut and secure the port properly.
Is Adding A Cable Port Safe For My Electronic Devices?
Yes, it is safe if done correctly. Ensure the port edges are smooth to prevent cable damage. Keep cables organized and avoid excessive bending to protect your devices.
Conclusion
Adding a cable port to your backpack makes charging easy and quick. You can carry your devices and charge them without hassle. The process is simple and does not need special skills. Just follow the steps carefully and use the right tools.
This small upgrade improves your backpack’s function a lot. Now, you can stay connected while on the move. Try it yourself and enjoy the convenience every day.